Introduction 
At the time of writing, Cloudflare Pages only supports GitHub or GitLab. But you can use Gitea. In this post, I am going to show you how. It is very easy.
This post will be very in-depth, it will cover steps that may be familiar to people who have used git or Hugo in the past, but it will also cover things you may not be aware of to get Cloudflare Pages working using your own Gitea.
What is assumed throughout:
- You have
gitinstalled on your system and usable in VSCODE - You have
hugoinstalled on your system and usable in VSCODE - You have
Source Controlenabled in VSCODE
Step 1 - Creating new Gitea repository 
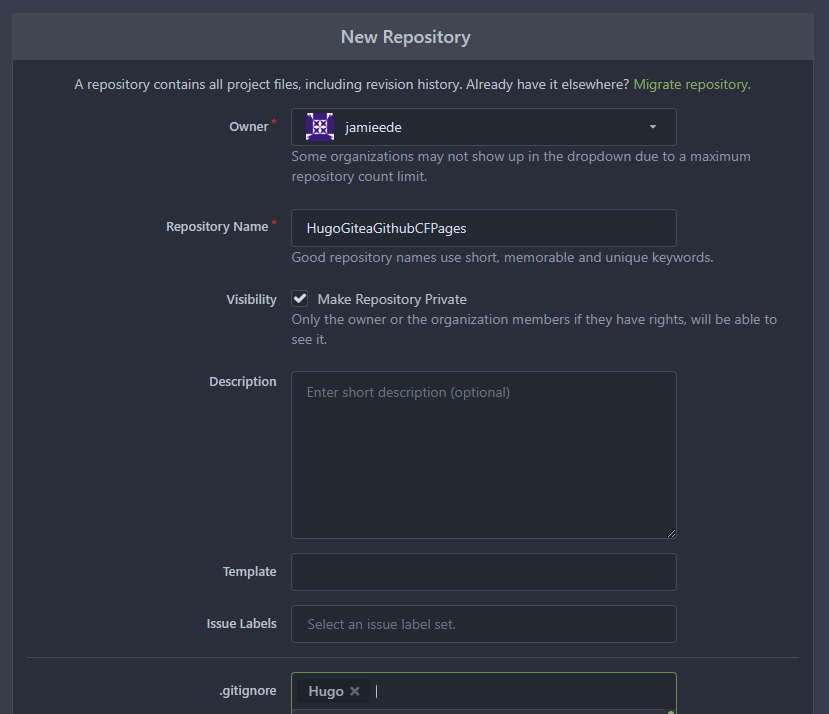
Start by creating a repo on your Gitea instance, giving it the following:
- Repository Name
HugoGiteaGithubCFPages - .gitignore
Hugo - Choose to keep the repository
Privateor not - Then scroll to the bottom and click
Create Repository
Step 2 - Pulling your new Gitea repository locally for development 
In this post, I will be using Visual Studio Code for local development
- Open a
New Windowin VSCode:File>New Window - Click
Source Controlon the left and then clickClone Repository
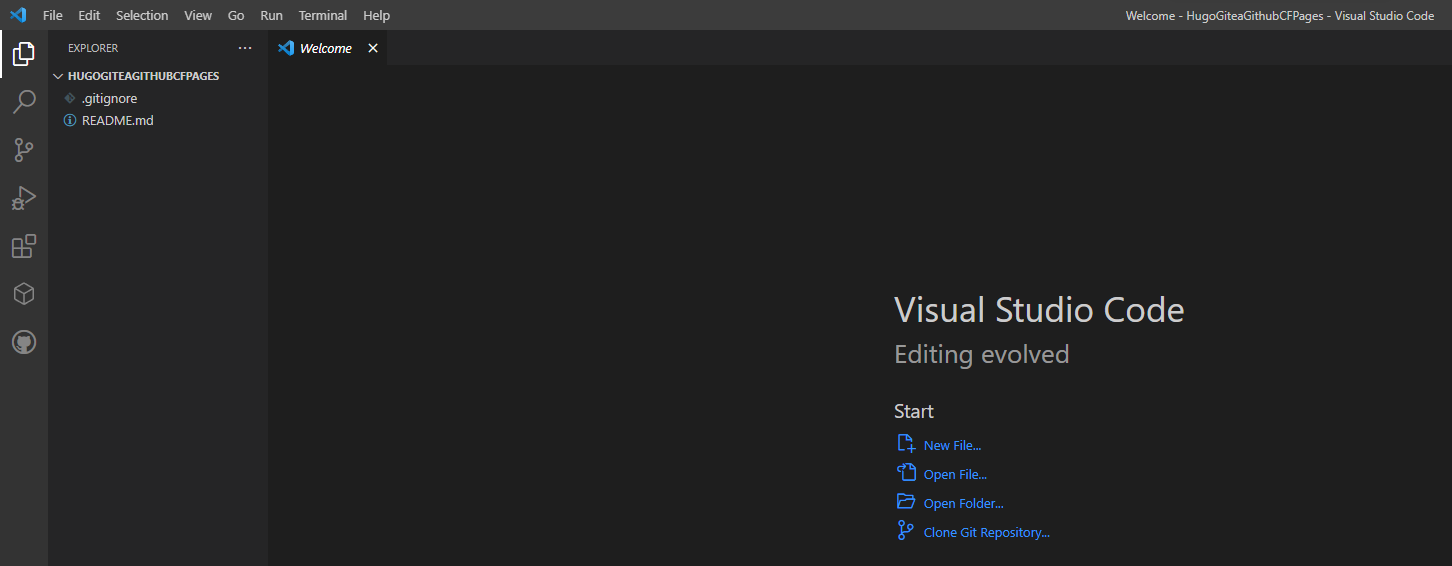
You should see a similar screen to this:

You may note that it shows Clone from Github. We shall not be doing that. In the text box above, Paste the URL for your repo from Gitea and then hit RETURN, mine is:

Your VSCODE should then look like this:
Step 3 - Creating a basic Hugo website 
Now, in VSCODE, click Terminal in the top menu, then New Terminal
We are following the Quick Start guide from the Hugo website, with some small edits: Hugo Quick Start
At the bottom of VSCODE a new Terminal window will appear, run the following command:
hugo new site . --force
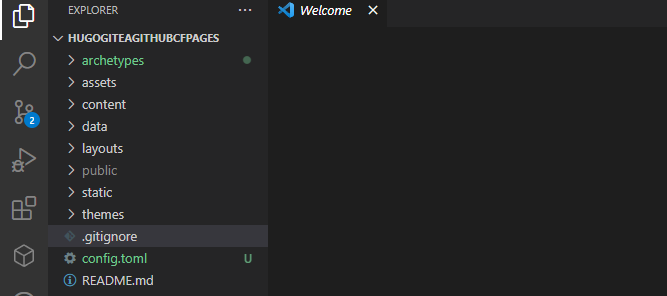
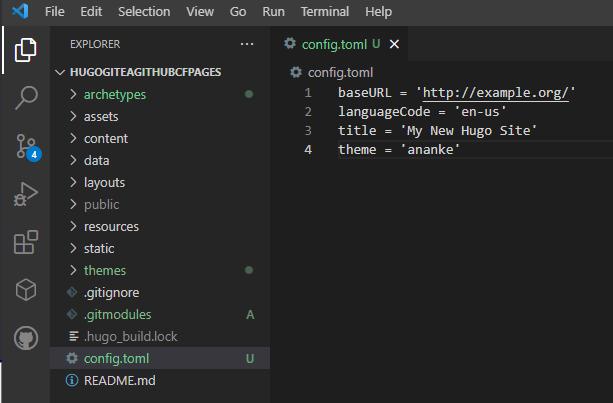
This will create a basic Hugo website in the root of your HugoGiteaGithubCFPages, your directory will look like this once done:
Run the following command to add a basic theme:
git submodule add https://github.com/theNewDynamic/gohugo-theme-ananke themes/ananke
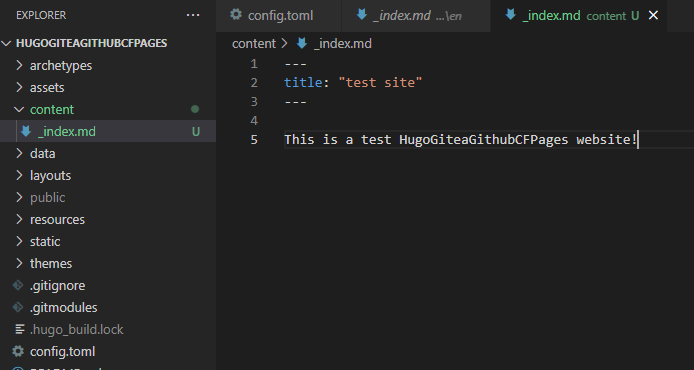
Now we need a homepage. Create a new file called _index.md in the folder content with the following content:
---
title: "test site"
---

This is a test HugoGiteaGithubCFPages website!
Now your directory structure should look like this:
Now you can check it in your browser! Run the following in the Terminal
hugo server
You should then see something similar to the following:
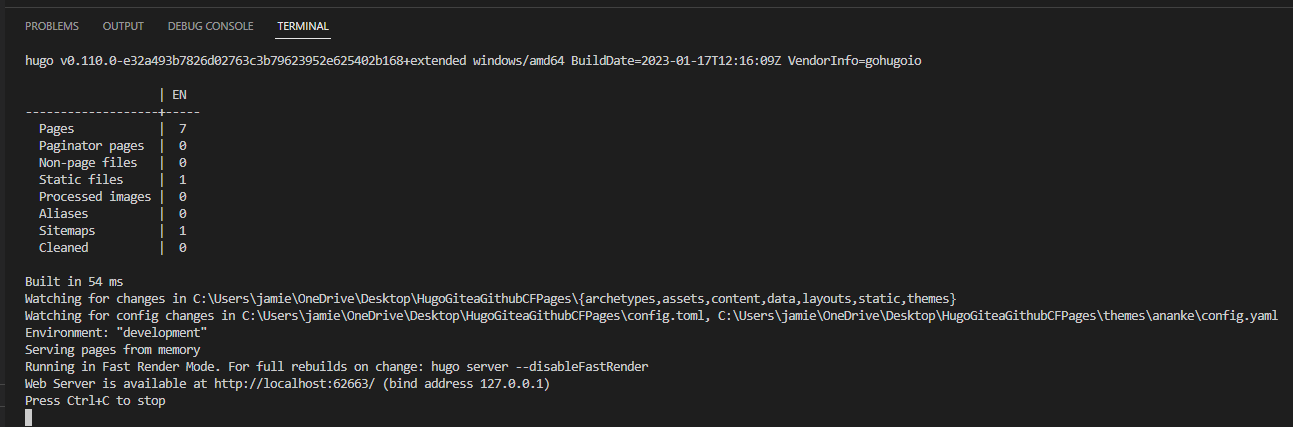
Note the line
Web Server is available at http://localhost:62663/ (bind address 127.0.0.1)
This means, you can browse your website in your browser by going to the URL shown in your VSCODE terminal (it may differ slightly from mine)
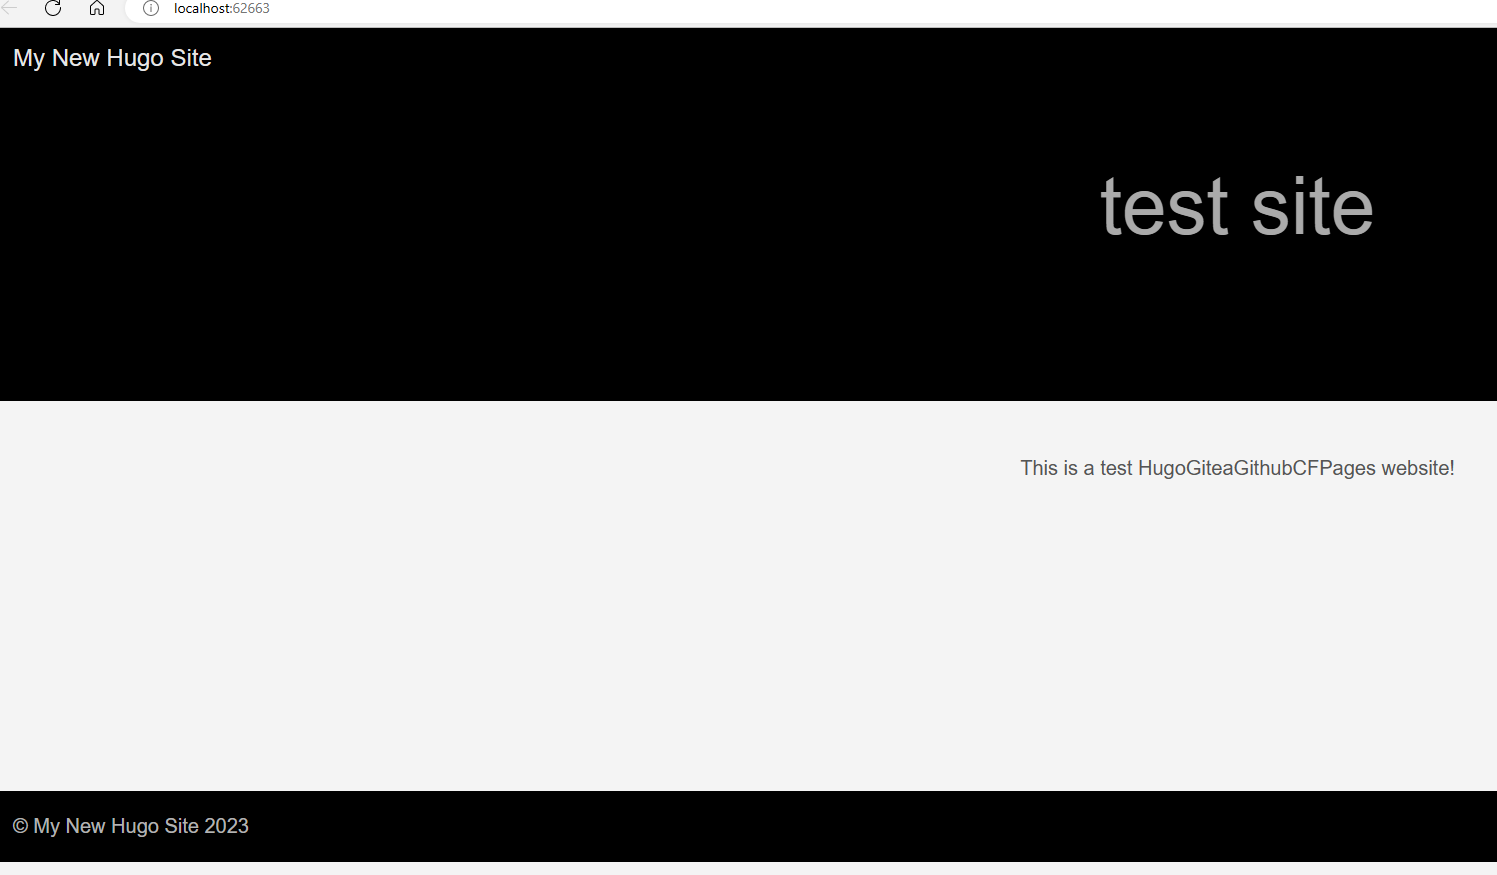
If you’ve made it to this point, nice!. We can now move on to saving our changes to Gitea and then the next stage of pushing to a Private GitHub.com repo!
Step 4 - Saving your changes to Gitea 
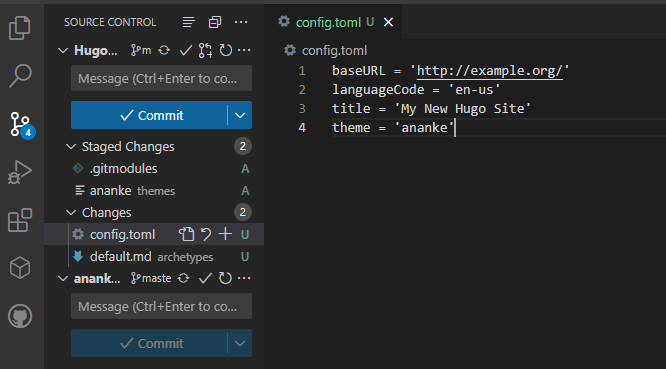
You may have noticed a blue circle with a number on the left, meaning our changes have been noticed by VSCODE, my example shows the number 4 (yours may differ):
We can now save these changes to our Gitea instance by doing the following:
Click Source Control on the left, and you’ll see this:
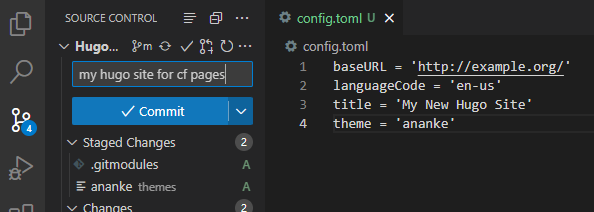
In the Message area write something and click Commit:
Now it will show another Message area, write something in and click Commit
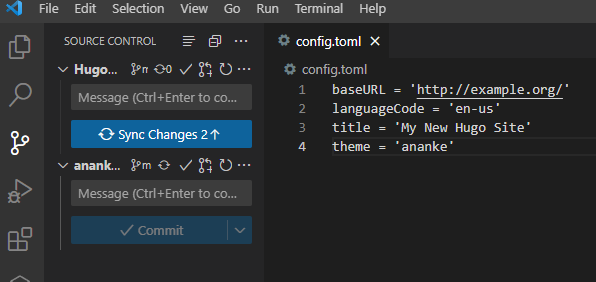
Now you can click Sync Changes
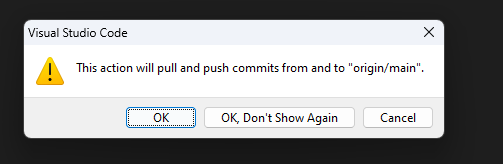
Press OK on the pop-up:
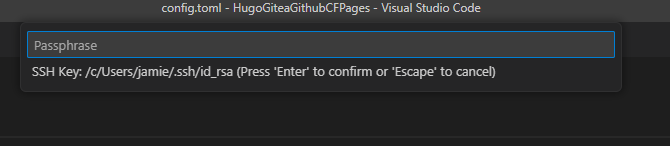
Now you may need to enter your SSH key Passphrase, write it in and hit Return on your keyboard:
You have now completed syncing your changes with your Gitea instance.
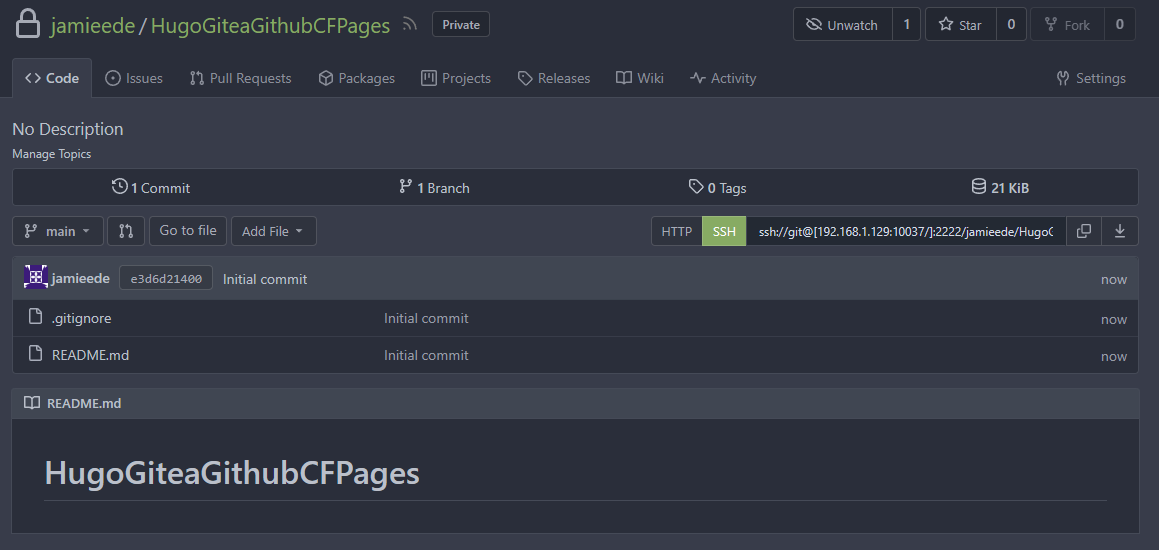
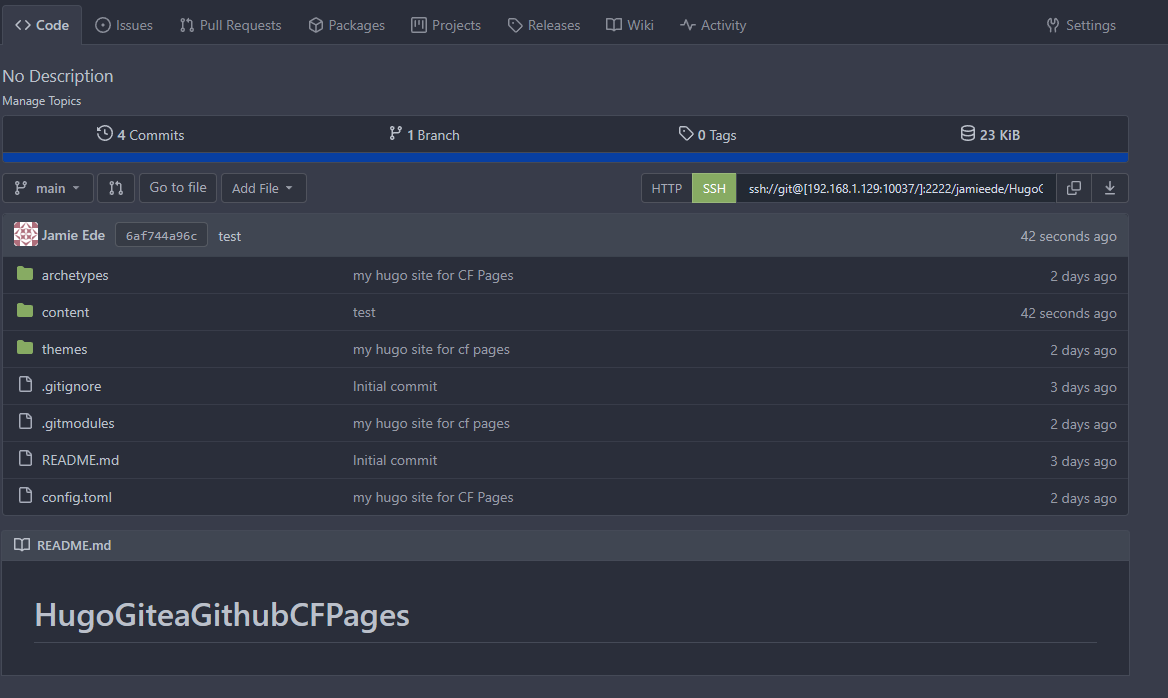
A quick check-in Gitea shows the changes did save:
Step 5 - Making a Private GitHub.com repo and connecting it to Gitea 
- Login to your GitHub account
- Press the
+top right - Click
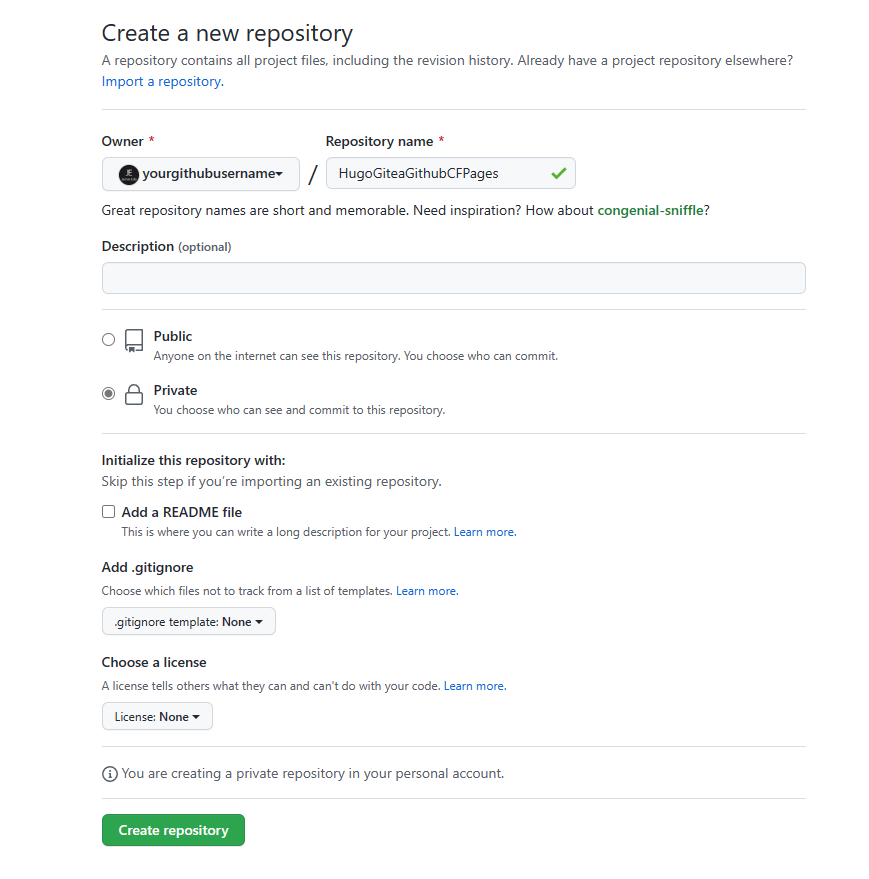
New Repository - Give it a
Repository namesuch asHugoGiteaGithubCFPages(it can be anything you choose) - Make the repo
Private - Click
Create Repository
GitHub will then create a blank slate repository for you. Its URL is `https://github.com/jamieede123/HugoGiteaGithubCFPages`` in my case
VERY IMPORTANT 
You now need to create a “Personal Access Token” on GitHub, so you can auto-deploy your Gitea to GitHub.com
Read more here: Gitea Docs - Setting up Push mirror from Gitea to GitHub
- When logged into GitHub, go to https://github.com/settings/profile
- On the left-hand menu click
Developer Settings - Now click
Personal access tokens>Fine-grained tokens - Then click
Generate new token - You may need to confirm your password
- Now, you need to set the key:
- Give the token a name
- In
Expirationuse the calendar select to make the key the max age, which at the time of writing is 1 year - Click
Only select repositoriesand then select the repository you created on GitHub, in this case,HugoGiteaGithubCFPages - Under
Permissionsselect the following:
Commit statuses=Access: Read and writeContents=Access: Read and writeIssues=Access: Read and writePull requests=Access: Read and write
- Now you’re ready to click
Generate token
You should then be shown something similar to below, copy the token to your clipboard:

Moving on 
- Go to your Gitea instance & then open your repository, in my case:
http://192.168.1.129:10037/jamieede/HugoGiteaGithubCFPages - Now, go to the
Settingslink for the repository - Next, scroll to
Mirror Settings - In the
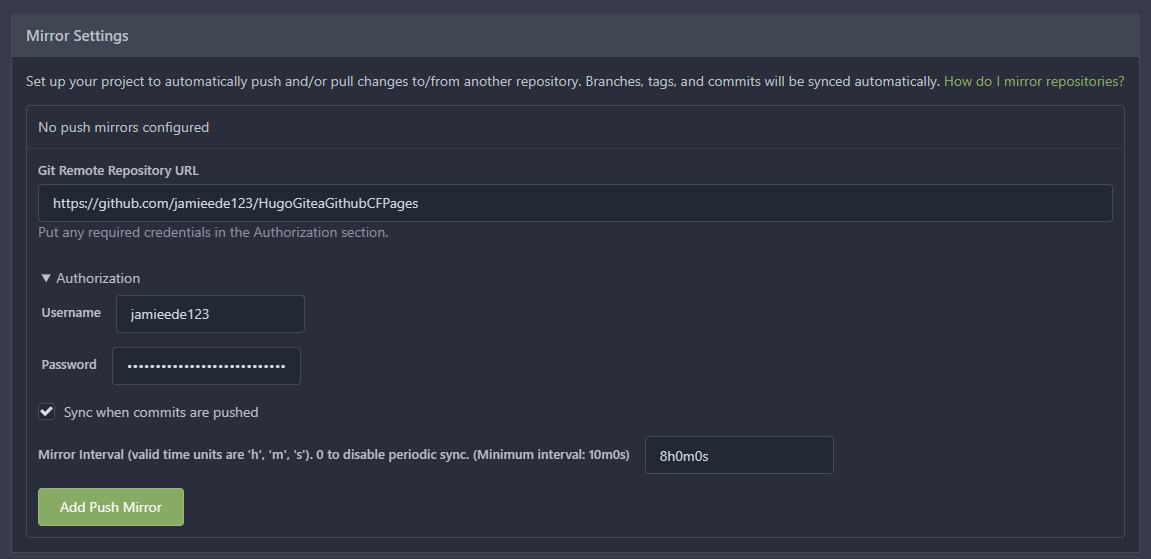
Git Remote Repository URLtext box enter yourGitHubrepo URL, in my case:https://github.com/jamieede123/HugoGiteaGithubCFPages - Expand the
Authorizationsection just below this - Enter your GitHub username & the token
- Ensure
Sync when commits are pushedis ticked
Below is a screenshot example:
Now click Add Push Mirror You’ll then be greeted with:
The repository settings have been updated.
Scroll to Mirror Settings section and click Synchronize Now to sync your Gitea repo with your clean and empty GitHub repo.
You’ll then be greeted with:
Mirror synchronization is in progress. Check back in a minute.
Then once it syncs you’ll see a success message in the Last update section, as you can see, mine says:
Feb 22, 2023, 3:26:06 PM

Step 6 - Setting up Cloudflare Pages to pull from the GitHub repository 
Right, the next step is getting Cloudflare Pages to pull your GitHub repository for auto-deployment to Cloudflare Pages.
There is great documentation over at https://developers.cloudflare.com/pages/framework-guides/deploy-a-hugo-site
This will be a step-by-step based on steps covered above
Log into the Cloudflare dashboard 
Now that you’re logged in, choose your account & then select Pages from the menu, then click Create a project > Connect to Git
Then login with your GitHub.com account and select the repository we created HugoGiteaGithubCFPages
Your page should look similar to below:

Click Begin setup
Now:
- Ensure you are happy with your
Project name Production branchbeingmainis fine- In
Framework presetfindHugoand select it - Expand
Environment variables (advanced)and enterHUGO_VERSION=0.101.0
That should be enough, you should have something similar to:
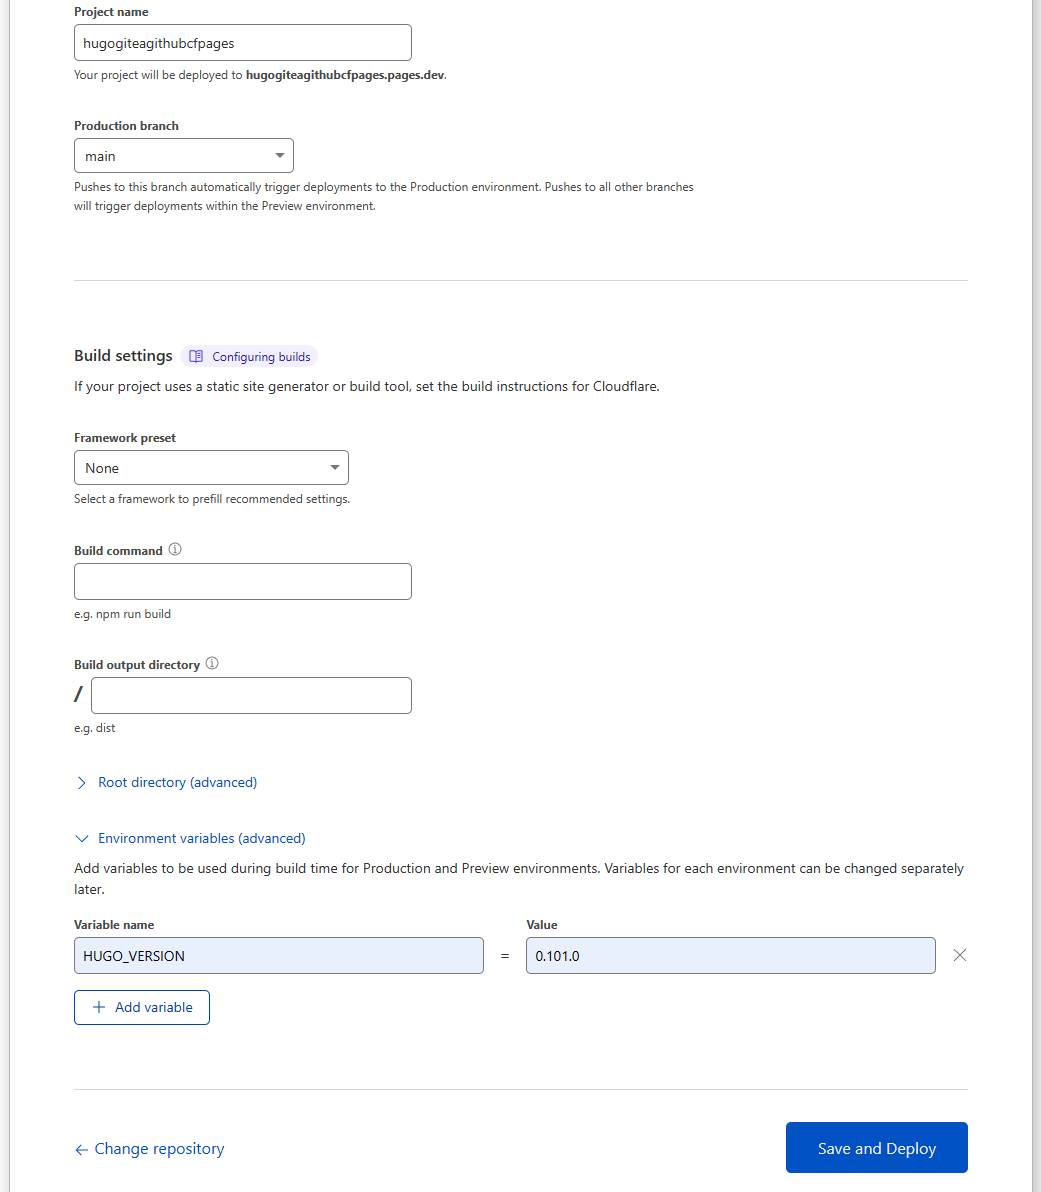
Click Save and deploy
Now, after a few seconds, the window should change and show the building and deployment process for your Hugo website!
Once it completes you should see something similar to:
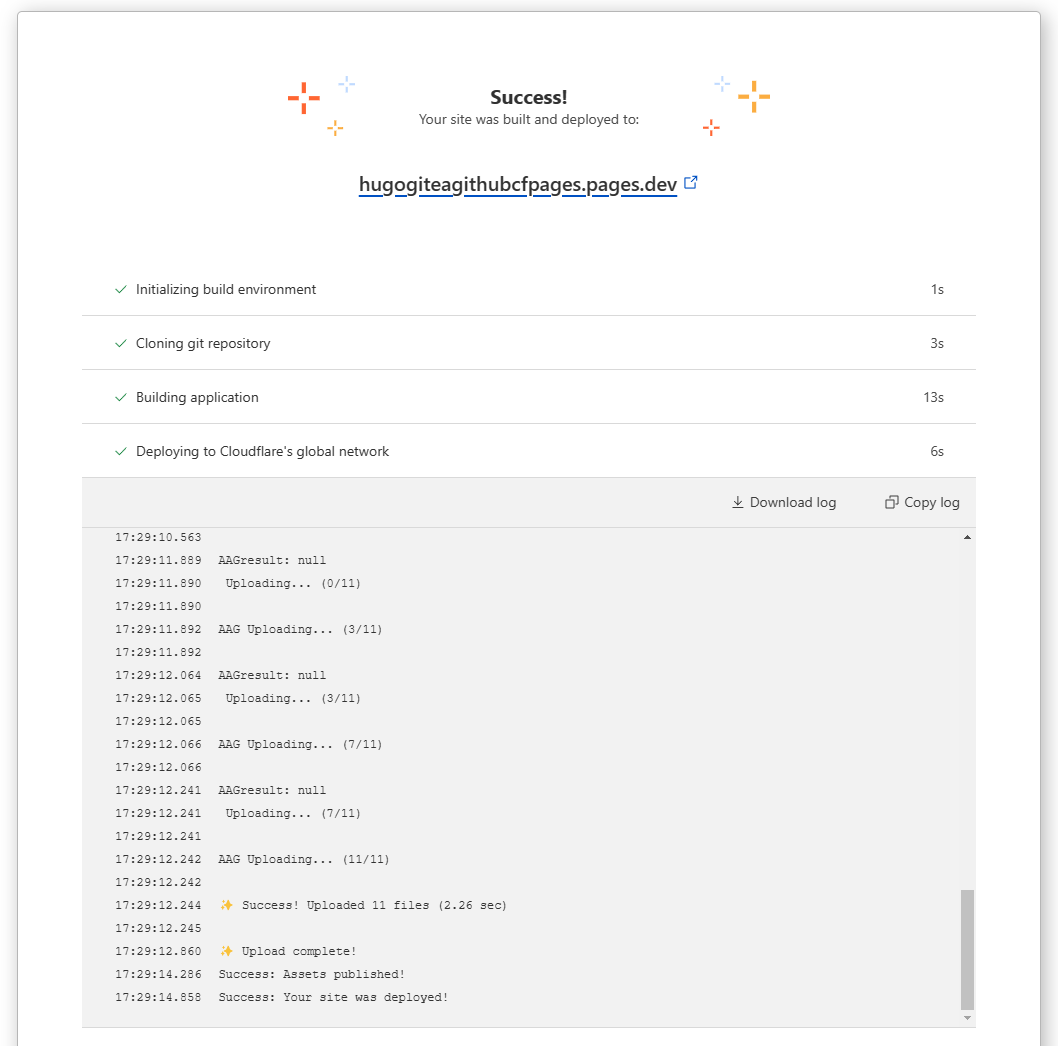
Congratulations! It works!
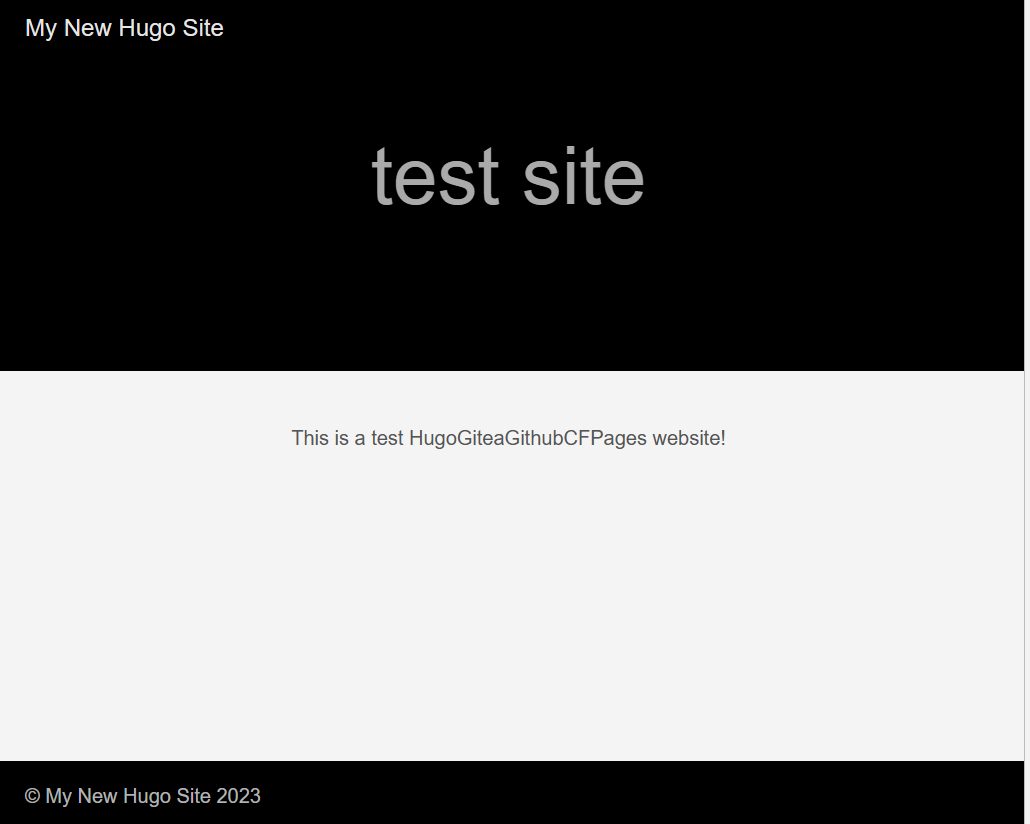
Going to https://hugogiteagithubcfpages.pages.dev/ in the browser shows:
Step 7 - Testing Gitea updates to auto GitHub mirror to auto Cloudflare Pages deploy 
Ok, so, everything thus far works. But all this setup needs a quick test to see if it works as expected
We are going to make a Pull Request on Gitea and see if Gitea pushes the change to GitHub & Cloudflare Pages deploys automatically.
I am going to edit that _index.md we created earlier and give it the following content:
---
title: "test site"
---
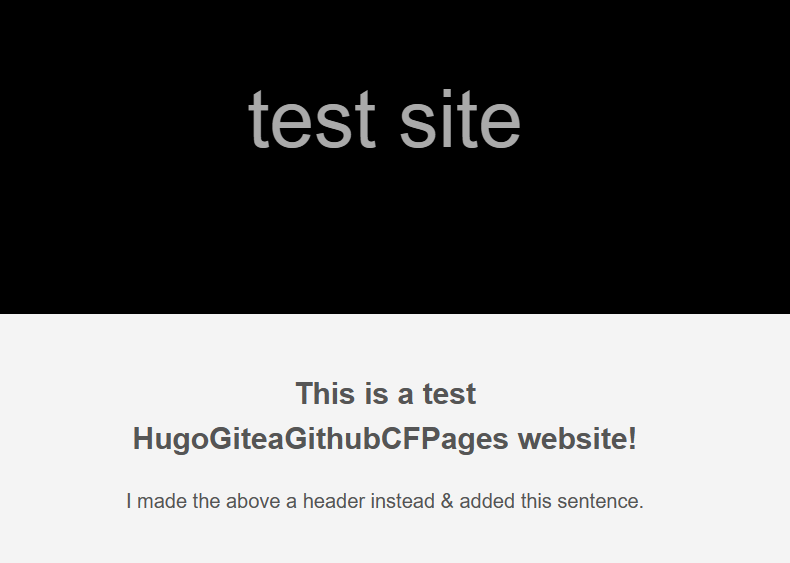
## This is a test HugoGiteaGithubCFPages website!
I made the above a header instead & added this sentence.
Save this and then go to http://localhost:62663/ (in my case, check your URL!)
and you should see your changes live:
Now, in the Source Control area, we used last time, we are going to send the changes to our Gitea repo:
- In
Source ControlMessage entermy new change - Click
Commit - In
Messagewrite the samemy new change - Then click
Sync Changes - Click
OK - Enter SSH key password if required, hit
RETURN
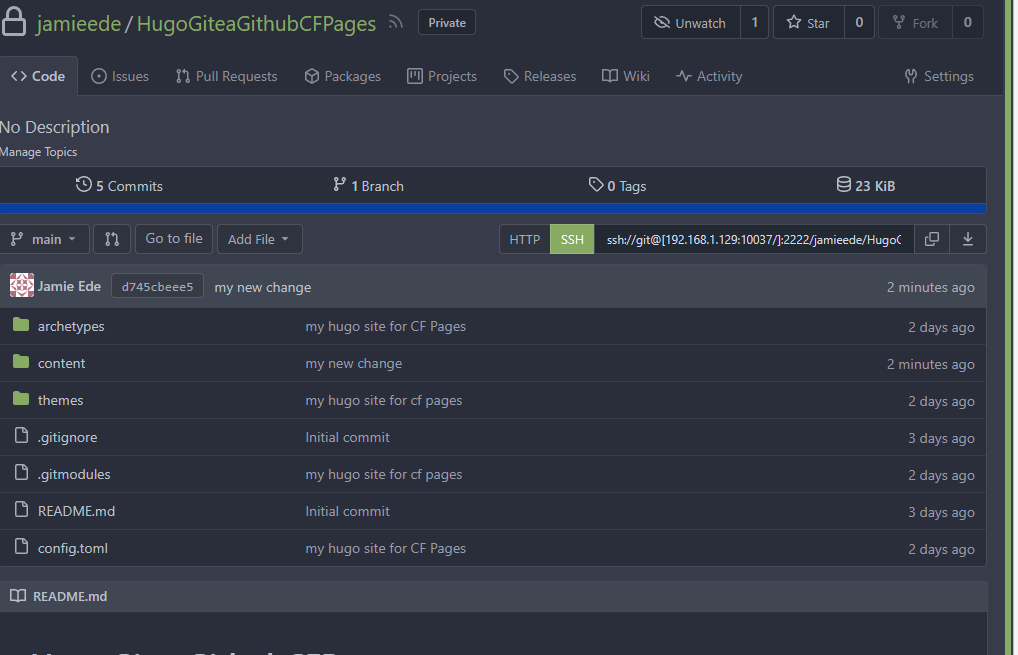
You will then see your change appear in Gitea:
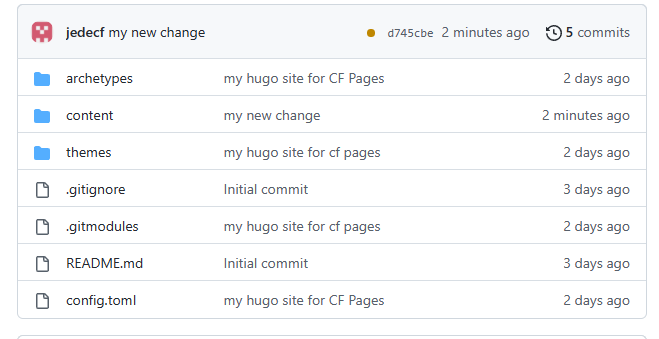
It also matches your GitHub repository:
And, best of all, you’ll see Cloudflare Pages auto-deploy your change!
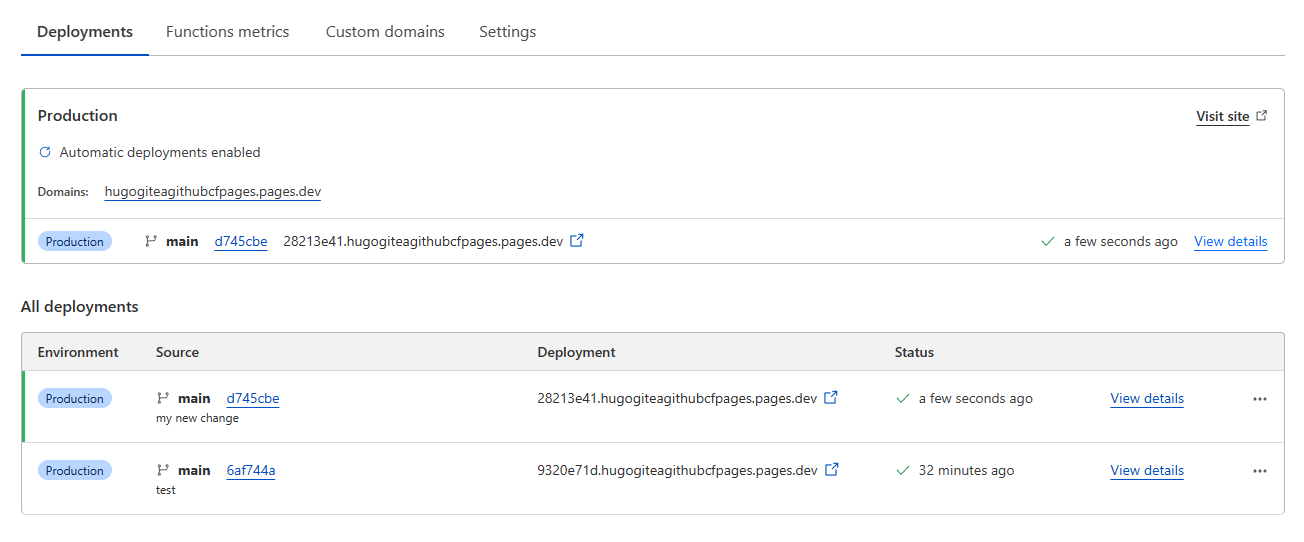
Browsing to the given new Cloudflare Pages URL will show the new changes: https://hugogiteagithubcfpages.pages.dev/
FINISHED 
Yes, we’re done, it works! You can now customize your site, enable a custom domain, anything you want.
For help to set up Custom domains and other features you can utilize with Cloudflare Pages, read more using the following helpful resources:
Cloudflare Pages docs Cloudflare Pages docs - How to section
Plus much more within it, plus the Cloudflare Community is a great resource
For Hugo development start here:
https://gohugo.io/getting-started/quick-start/
Thanks for reading, reach out on Twitter if you have any issues or comments @jamierede